Survival and Outdoors
Blade 101: A Comprehensive Guide to Fixed Knife Blade Design
20.10.2016
When it comes to knife blades, it would seem that there are as many different types of blade shapes and blade grinds as there are knives; limited only by the designer’s imagination. But, in truth, all knife blades can be classified as falling into one of ten different blade shape categories and as having one of four different primary bevel grinds. However, recognizing these different categories first requires an understanding of the distinct features that cause a knife to be classified as falling into one category or the other. But, while having the knowledge to categorize a particular knife blade design is interesting, it is really only useful if it enables you to choose the proper blade design for you intended purpose. Therefore, in the following article, you will find all of the information you need about knife blade design, knife blade characteristics, Primary Bevel Grinds, and blade tang construction to enable you to analyze the various parts of a fixed blade knife and to understand how they interact with each other to enhance or detract from a knife blade’s performance for any given purpose.
Blade Designs
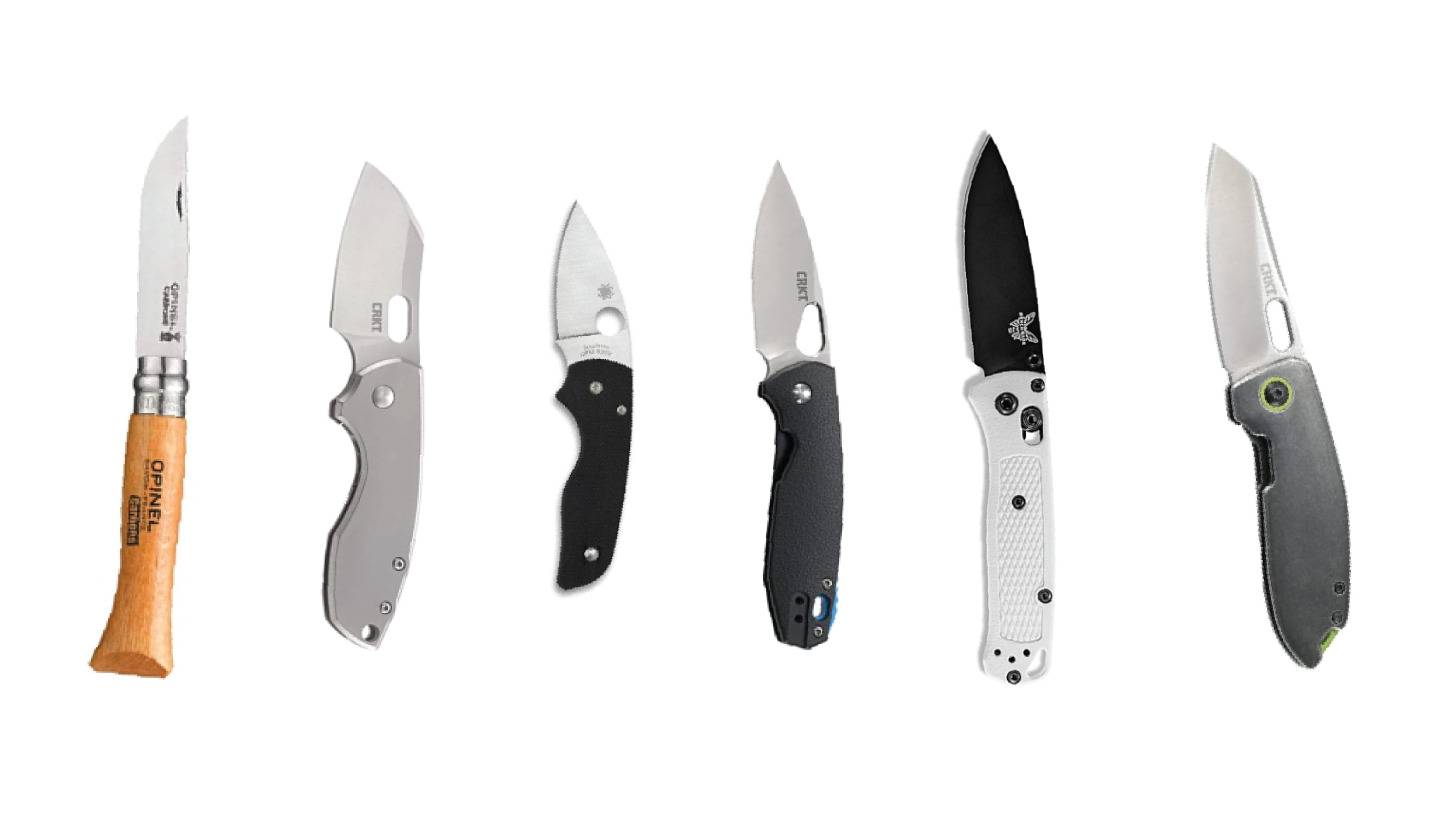
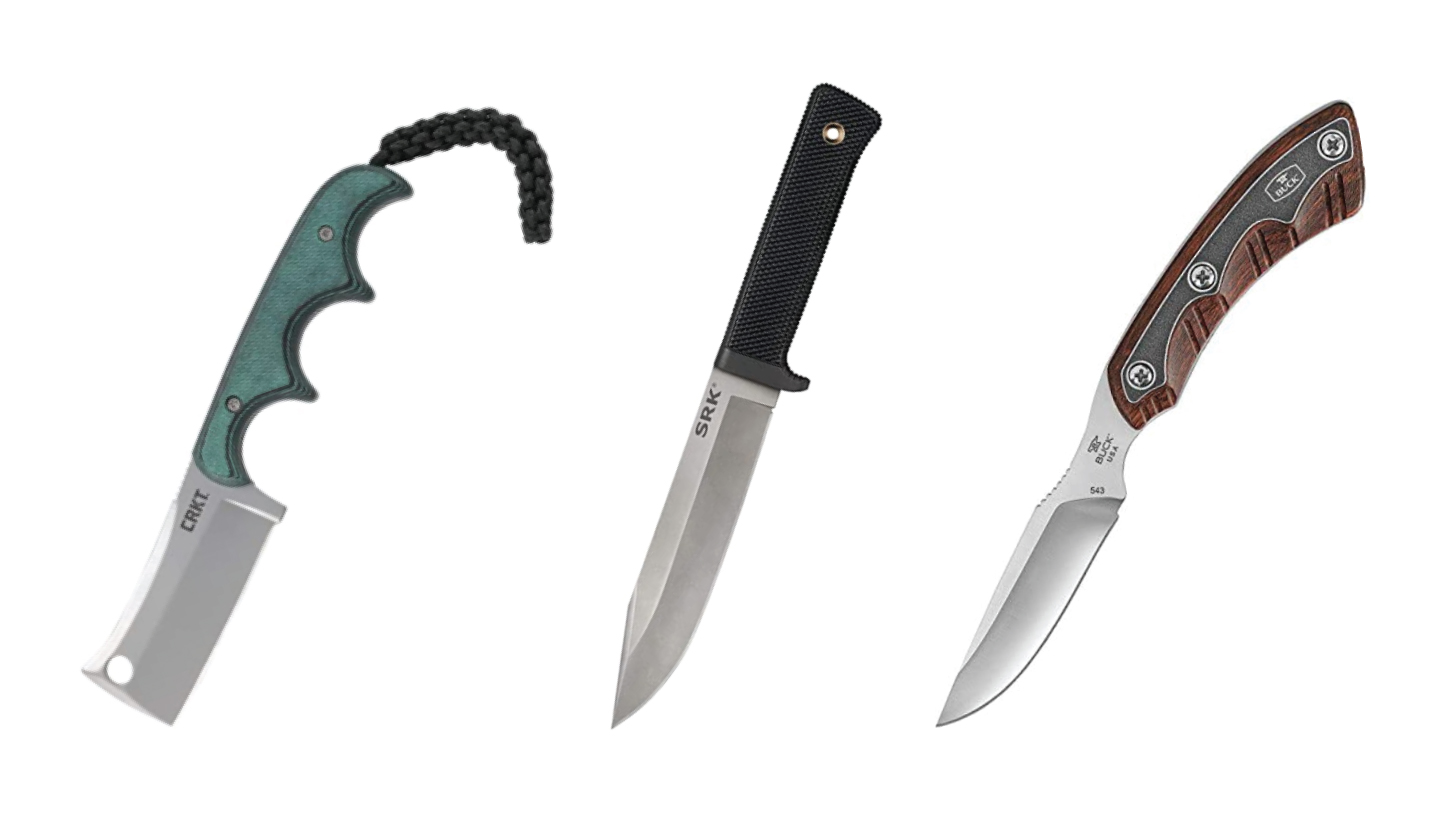
Although the three most popular knife blade designs are the Drop Point, the Clip Point, and the Trailing Point, there are numerous other knife blade designs that are also popular for certain purposes. Thus, it should be noted that as a general rule, each blade shape is specifically designed to enhance a particular blade characteristic in order to cause the knife to excel a particular task.
- Straight Back – The Straight Back blade shape is likely the very first blade shape ever designed and it is defined by a back that that extends level from the bolster or handle all of the way to the tip of the blade. Therefore, this blade shape is an excellent general purpose design.
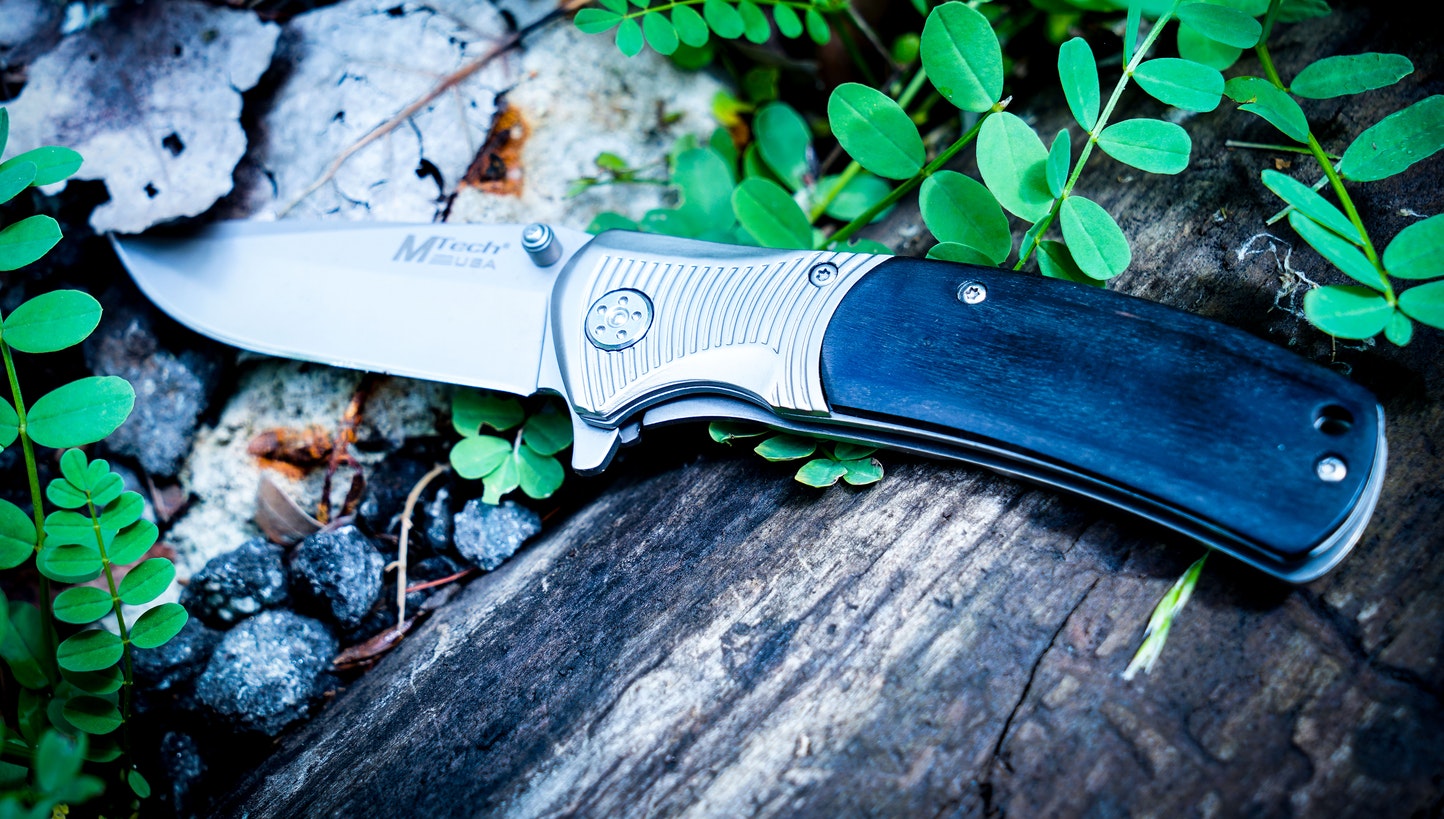
- Drop Point – The Drop Point blade shape is arguably the single most popular hunting knife blade design in existence and it is defined by a tip that is positioned below the back of the knife and which has a back that extends forward from the bolster or handle and then incorporates a continuous, downward, curve to the tip so that it provides greater control over the tip of the blade when performing precision cutting tasks.
- Clip Point – The Clip Point blade shape is arguably the single most popular general purpose blade shape ever designed and it is defined by a tip that is also positioned below the back of the blade. In addition, it features a straight back that extends level or at an upward angle from the bolster or handle and then displays either a straight or concave drop to the tip such that it appears as if the tip top section of the blade has been “clipped” off. Also, the purpose of this design is to both lighten the tip of the blade for better balance as well as to position the tip of the blade closer to the center line for greater control when performing precision cutting tasks in addition to enhancing piercing ability.
- Trailing Point – The Trailing Point is defined by a tip that is positioned above the back of the blade and displays a long, upward, curve along the length of the back such that it positions the tip of the blade well above the spine which, in turn, increases the length of the cutting edge but, also decreases the amount of control the user has over the tip of the blade. Thus, Trailing Points are the favored blade shape whenever, long, slicing, strokes are required.
- Nessmuk Point – The Nessmuk Point design is defined by a tip that is positioned above the back of the blade and has a back that extends straight from the bolster or handle for at least half the length of the blade and then begins a gentle upward curve to the peak and then drops slightly to meet the point. Attributed to a sports writer named George W. Sears who wrote articles for the outdoor magazine Forest & Stream in the 1880’s using the pen name “Nessmuk”, some knife aficionados have speculated that the Nessmuk blade shape came about as a result of Sears “clipping” the tip from a Green River knife (a Trailing Point design popular at the time) to shorten the belly of the cutting edge and provide more control over the tip.
- Spear Point – The Spear Point is similar to the Drop Point in that it has a long, convex, curve along both the top edge and the cutting edge such that the two curves meet at or near the center line of the blade. Also, the Spear Point can be either wide or narrow and it can have either a single or a dual cutting edge. However, it should be noted that when ground with a double bevel, the spine is located along the center line of the blade instead of along the top edge which increases the thickness of both edges.
- Needle Point – The Needle Point blade shape is similar to the Spear Point except that it is always long and very narrow and displays two straight edges that extend forward from the bolster or handle and meet at the tip with a spine that runs along the center line of the blade. Thus, this design creates a very narrow blade with a very sharp point and is specifically designed for piercing. Therefore, it is most often used on Stilettos, Small Swords, and Rapiers.
- Sheep’s Foot – The Sheep’s Foot blade shape always incorporates a straight cutting edge that extends forward from the Ricasso with a straight back that extends almost to the tip and then has rounded profile that drops sharply to meet with the cutting edge. This creates the longest possible cutting edge and it provides the greatest possible leverage on the tip of the blade. However, although it was originally designed for the specific purpose of trimming sheep’s hooves, it is nonetheless a useful blade shape for some specific purposes.
- Wharncliffe – The Wharncliffe blade shape is very similar to the Sheep’s Foot blade shape in that it too has a straight cutting edge that extends forward from the bottom of the handle with a straight spine that extends most of the way to the tip but drops to the tip less sharply than a Sheep’s Foot blade shape. Also, because it was specifically designed for whittling, it too provides the greatest possible leverage on the tip of the blade for performing fine work but is significantly more narrow than a Sheep’s Foot blade shape.
- Spey – The Spey blade shape has a straight spine that extends forward from the top of handle or bolster and then drops sharply to the tip combined with a straight cutting edge that also extends forward from the bottom of the handle or bolster and then curves sharply upward to meet with the back in the center of the blade. Thus, like many traditional pocket knife blade shapes, this particular blade shape was originally designed for gelding farm animals and thus the name “spey” blade.
- Americanized Tanto – The Americanized Tanto blade shape is a bastardization of the original Japanese armor piercing point featured on the Katana, the Wakizashi, and the Tanto and it has either a straight or slightly curved top edge with either a straight or slightly curved cutting edge with a sharply angled belly as opposed to a continuous curve. Thus, it is technically a Straight Back or a Trailing Point design but, because of the unusual tip design, this blade shape is given its own category.
Blade Characteristics
When designing a knife blade, there are several blade characteristics in addition to blade shape that are important to consider because they too drastically affect the performance of the blade.
- Blade Thickness – The first consideration when designing a knife blade is to determine what size the knife will be and what it will most likely be used for and then, to choose an appropriate steel thickness for constructing such a knife. Of course, the reason for this consideration is that the thickness or thinness of a knife’s blade affects the strength of the blade. Therefore, while a thick blade makes a knife strong so that it can withstand both impact and lateral forces, it also makes the knife heavy. Whereas, a thin blade makes a knife light and easy to maneuver but, less strong than a thick blade. However, it should also be noted that the type of Primary Bevel Grind a blade has can work in conjunction with the blade thickness to enhance either the inherent strength or the sharpness of a blade. For instance, when a thick blade is chosen for strength, a Flat Grin or a Hollow Grind can be applied as opposed to a Saber Grind to make the Primary Bevel thinner and thus make the cutting edge thinner as well. However, when a thin blade is chosen, applying a Saber Grind instead of a Flat Grind will leave the Primary Bevel thicker and thus make it stronger but, not as sharp.
- Edge Thickness – Just like blade thickness, edge thickness is also a matter of compromise. For instance, while a thick cutting edge is tough and thus does a good job of withstanding impact as well as wear when slicing, it is simply not possible to hone a thick edge as sharply as it is a thin edge. On the other hand, while a thin edge can be honed to a very fine edge, it does a poor job of withstanding impact and, tends to dull faster when slicing. Therefore, thick edges are desirable for heavy-duty knives whereas, thin edges are desirable for hunting knives and, a compromise between the two is desirable for every day carry knives.
- Re-curved Edges – Although most knife blade designs have either straight or curved edges, others have recurved edges. Thus, a recurved edge is defined as one that is “S” shaped and, the purpose of the recurved edge is to present more cutting edge to the material being cut during a slicing stroke. In addition, due to its weight-forward design, the Recurved Edge combined with a Drop Point makes an excellent blade shape for a heavy chopping tool such an Enep or a Bolo. However, a recurved edge can be somewhat difficult to sharpen freehand and thus, some of the assisted sharpening rigs available will make the job easier.
- Edge Angles – Another way to increase cutting ability is by introducing a positive rake angle between the cutting edge and handle. Therefore, if a person were to hold the knife with the back of the blade horizontal and the cutting edge down, a positive rake angle would cause the cutting edge to descend as it extends forward from the Ricasso to the Belly and then ascends again to the Tip. Furthermore, not only does introducing a positive rake angle increase a blade’s slicing ability similar to that of a recurved blade shape, it also magnifies its chopping ability. On the other hand, it is also possible to introduce a negative rake angle. Therefore, if a person were to hold the knife with the back of the blade horizontal and the cutting edge down, a negative rake angle would cause the cutting edge to ascend as it extends forward from the Ricasso to the Belly and then to the Tip. Thus, while introducing a negative rake angle also increases a blade’s slicing ability by presenting more of the cutting edge to the material being sliced, it instead diminishes a blade’s chopping ability rather than magnifying it.
- Ricasso – The Ricasso is the flat section of the blade between the bolster or handle and the Plunge Line and it can be either short or long. However, the length of the Ricasso also affects a knife blade’s performance. For instance, when the knife is held by the handle, there is certain amount of distance between one’s index finger and the start of the cutting edge and, if that distance is short, then the user has more leverage over the cutting edge. But, if that distance is long, then the user has less leverage over the cutting edge. Therefore, short Ricassos both provide the user with greater leverage over, and lengthen, the cutting edge whereas, long Ricassos provide less leverage and shorten the length of the cutting edge. However, it should also be noted that some knives are specifically designed to enable the user to “choke up” on the handle by moving one’s hand forward such that the user’s index finger is even with the Ricasso and then placed upon the unsharpened section of the cutting edge. Thus, this type of blade design necessarily requires a long Ricasso. In addition, some blade designers will incorporate a concave curve to the bottom edge of the Ricasso to form a finger groove that helps to prevent the user’s finger from sliding forward onto the cutting edge.
- Belly – The belly of a knife blade is defined as the curving section of a knife blade positioned under the point and can be either short or long and, either shallow or deep. Also, the purpose of the belly section is to increase the blade’s ability to both slice and slash by lengthening the cutting edge and by presenting an ever-changing angle to the material being cut. But, at the same time, the more belly a blade has, the less acute its point is and thus, while lengthening the belly does increase a blade’s ability to slice, it also reduces its ability to pierce. However, a designer can counter this tendency somewhat by incorporating either a Clip Point or a Drop Point to lower the position of the tip in order to make it point a bit more forward. Furthermore, it should be noted that while some blade designs such as Trailing Points seem to be mostly belly, others such as a Sheep’s Foot or a Wharncliffe don’t have a curving section at all and thus, they consist entirely of a cutting edge and a tip with no belly at all.
- Point Design – The Point is obviously the tip of the knife blade and is the section that is used for piercing. Thus, in order to pierce easily, the tip should be as small as possible in order to focus the pressure placed upon it during a thrust. But, it should also be noted that the sharper the point it, the weaker it is. Consequently, some piercing blade designs such as Needle Points have very thin tips because their main purpose is to pierce. On the other hand, robust piercing blade designs such as the Americanized Tanto have a very strong piercing point due to the spine extending full thickness almost to the point. Consequently, although the Tanto Point won’t penetrate as easily a Needle Point, it would likely survive a thrust into a tough target that would easily break a Needle Point.
- Swedge – A Swedge is a pair of bevels applied to either side of the tip on a Clip Point blade shape. Also, the purpose of the Swedge is to reduce the width of the point so that it can penetrate more easily. However, while grinding a Swedge into the tip does make the point sharper, is also makes it weaker.
Primary Bevel Grinds
When it comes to designing a knife blade, a single type of Primary Bevel Grind does not suite all purposes! In fact, the type of Primary Bevel Grind a knife blade has can either enhance or degrade both its strength and its sharpness. Therefore, it is important to choose the proper Primary Bevel Grind for your intended purpose in addition to the correct blade design and correct blade characteristics.
- Saber Grind – The Saber Grind is defined as having flat surface with a short or shallow Primary Bevel that only extends a short way from the cutting edge to the back of the blade. Thus, the Saber Grind is designed to create a thick, tough, reasonably sharp, cutting edge that will withstand impact rather than a thin, extra sharp, cutting edge for slicing. However, due to the thickness of the cutting edge, Saber Grinds are cannot be sharpened as finely as a Flat Grind or a Hollow Grind.
- Flat Grind – The Flat Grind is defined as having a flat surface and a Primary Bevel that extends from the cutting edge all of the way to the back of the blade. Thus, the Flat Grind is designed to provide a compromise between the toughness of a Saber Grind and the sharpness of a Hollow Grind by providing an edge that is neither as thick as a Saber Grind nor as thin as a Hollow Grind. Therefore, although a Flat Grind does not produce as a tough an edge as a Saber Grind does nor, as sharp an edge as a Hollow Grind does, it does produce a significantly sharper edge than a Saber Grind and a significantly tougher edge than a Hollow Grind.
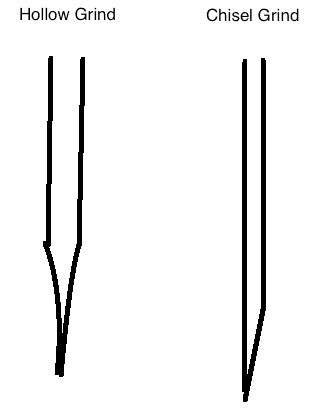
- Hollow Grind – The Hollow Grind is defined as having a concave surface and a Primary Bevel that extends from the cutting edge most of the way to the back of the blade. Also, it is designed to provide the thinnest Primary Bevel of the three types of Primary Bevel Grinds and thus, it produces the sharpest cutting edge. However, due to the thinness of the cutting edge, Hollow Grinds do not produce as tough an edge as a Flat Grind or a Saber Grind and thus, while a Hollow Grind is perfect for hunting knives, it is not well suited for survival knives or heavy-duty chopping tools such as an Enep, a Parang, or a Bolo.
- Double Bevel – The Double Bevel is a type of blade grind that features two Primary Bevels that meet along the center line of the blade; thus forming the spine in the center of the blade rather than along the back. In addition, the Double Bevel can have either two Flat Grinds or two Hollow Grinds depending on the strength and sharpness of the cutting edge desired. This, in turn, creates two cutting edges and thus, the Double Bevel Grind is most often used on swords and daggers where it is desirable to have an inherently strong blade that can cut or slice using either side of the blade as well as pierce easily with the point.
- Chisel Grind – The Chisel Grind is one of the most unusual and, least popular, Primary Bevel Grinds and consists of one side of the blade being left unground so that it’s flat from the back to the edge with the opposite side displaying a Flat Grind. Also, Chisel Grinds are available in either right hand or left hand models with the angled side always adjacent to the side on which the knife will be used. However, Chisel Grinds are popular on many Japanese Chef’s knives because the single bevel combined with the single flat side presents a single-bevel cutting edge to the material being cut which provides less resistance than a double-bevel cutting edge ground at an equal angle.
- Convex Grind – The Convex Grind is defined by a gently curving surface that extends from the cutting edge to the back of the knife blade like a Flat Grind, instead of having a flat edge bevel like most edge grinds, the Convex Edge Grind creates a convex cutting edge that represents the best possible compromise between edge sharpness and edge toughness and, it presents less resistance to the material being cut than any other blade grind. However, this type of cutting edge grind is difficult to sharpen without a belt sander or a specially constructed sharpening block to which a piece of fine grit sand paper is attached backed by a layer of closed cell foam or a leather strop impregnated with coarse grit. Consequently, it is generally only employed by a few custom bladesmiths.
Tang Construction
First, it should be noted that only fixed blade knives have extended tangs. Folding knives and pocket knives on the other hand have truncated tangs that are just long enough to provide room for the hinge pin to be inserted and the locking mechanism to engage. Fixed blade knives on the other hand require an extended tang to which the knife’s handle can be affixed. Also, it should be noted that although there are seven different types of knife handle tangs, Tapered Tangs, Skeleton Tangs, and Extended Tangs are actually all sub-categories of the Full Tang. Furthermore, it should be noted that the various types of knife handle tangs are listed below in descending order according to their inherent strength. Last, the reason that the strength of a knife’s handle tang is important is that when a knife’s blade experiences impact such as when using the knife to chop or, when it experiences lateral deflection such as when using the knife to pry, the junction between the blade and the tang is the weakest point and thus, it is important to choose a knife with the correct type of tang construction for your intended purpose.
- Full Tangs – Full Tangs are exposed tangs that extend the full length and width of the handle to which various types of handle scales are affixed using one of several different methods. However, most Full Tang knives also leave the edges of the tang exposed and thus, they can be seen when examining the knife. Furthermore, Full Tangs are the strongest type of knife handle tang and thus, they are also the most popular type.
- Tapered Tangs – Tapered Tangs are exposed Full Tangs that extend the full length of the handle and are tapered from front to back either along the sides or, along the edges or, both; thus moving the balance point of the knife further forward than is possible with a non-tapered Full Tang and yet, they still retain the majority of the strength of a non-tapered Full Tang.
- Hidden Tangs – Hidden Tangs are hidden Full Tangs that extend the full length of the handle but, not the full width. Also, unlike Full Tangs, the method of attaching the handle to the tang is not visible since it is most often accomplished using an industrial strength epoxy to secure the handle to the tang. However, other methods such as milling or welding a protrusion onto the tang which then fits into an accompanying groove milled into the interior of the handle which then prevents the handle from being withdrawn from the tang are also used and sometimes both methods are combined.
- Skeleton Tangs – Skeleton Tangs are Full Tangs that may or may not be exposed and that extend the full length of the handle. But, unlike Full Tangs and Tapered Tangs, Skeleton Tangs have cavities milled through the body of the tang; the purpose of which is to lighten the tang similar to a Tapered Tang and thus move the balance point of the knife further forward while still retaining the full strength of the Full Tang design.
- Extended Tangs – Extended Tangs are Full Tangs that may or may not be exposed and that extend the full length of the handle but, unlike Full Tangs, the butt of the tang extends beyond the handle scales; thus creating a metal protrusion. Also, the purpose of Extended Tangs is provide a striking surface which can be used for such purposes a breaking glass or delivering a blow to an opponent’s head.
- Partial Tangs – Partial Tangs are similar to Full Tangs in that they are significantly wider than Stick Tangs but, they only extend a short way into the handle. Also, they include the sub-categories of Stub, Half, and Three-Quarter Tangs which all describe a short tang that extends from the back of the blade as well as the length of the tang. Thus, while Partial Tangs are stronger than Stick Tangs, they are not as strong as any of the various Full Tangs.
- Stick Tangs – Stick Tangs (aka Rat Tail Tangs) are tangs that extend the full length of the handle but, unlike Full Tangs and Partial Tangs, Stick Tangs consist of a round, square, or rectangular metal, rod encased within the handle. Also, it should be noted that sometimes Stick Tangs are welded directly to the back of the blade and other times they are welded to the stub of a Partial Tang. In addition, although Stick Tangs can be affixed using epoxy, the most common method for affixing the handles to Stick Tangs is to thread the rear end of the tang, then slide the hollow handle over the tang, and then secure it by screwing a Pommel Nut onto the threads. Therefore, Stick Tangs are the weakest type of knife blade tang.
Last Words
So, as you can see, there is quite a bit to be considered when choosing a knife for any given purpose because blade shape, blade characteristics, Primary Bevel Grinds, and tang construction all work together to optimize a knife for any given purpose. Thus, the trick to choosing the proper knife blade design for your intended purpose is to first identify which of the above mentioned properties are best suited to your particular needs and then choose the appropriate blade shape, blade grind, and tang construction that best suits that particular purpose.