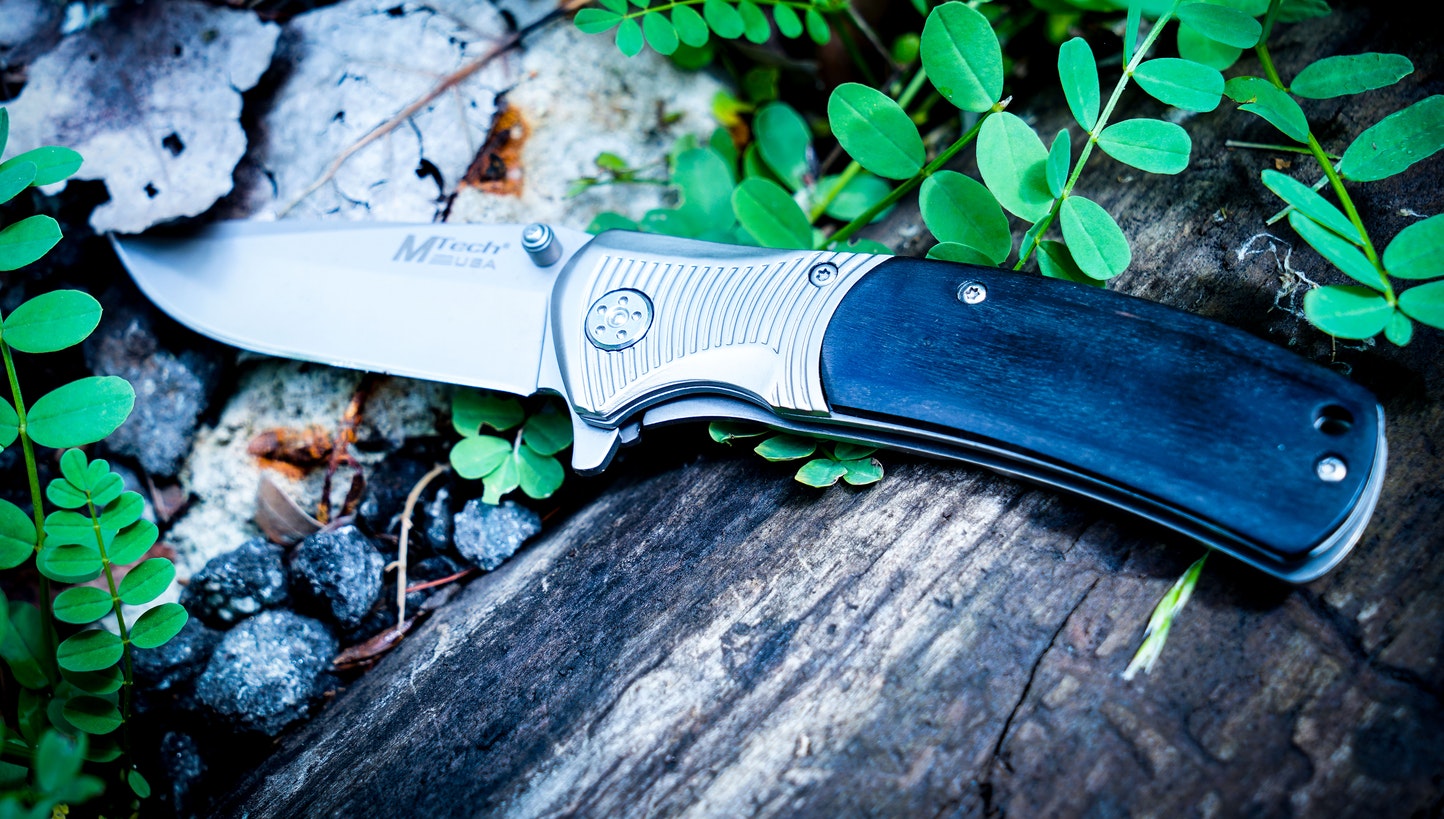
Knife Sharpening
Knife Sharpening Equipment: What Are The Options?
27.12.2014
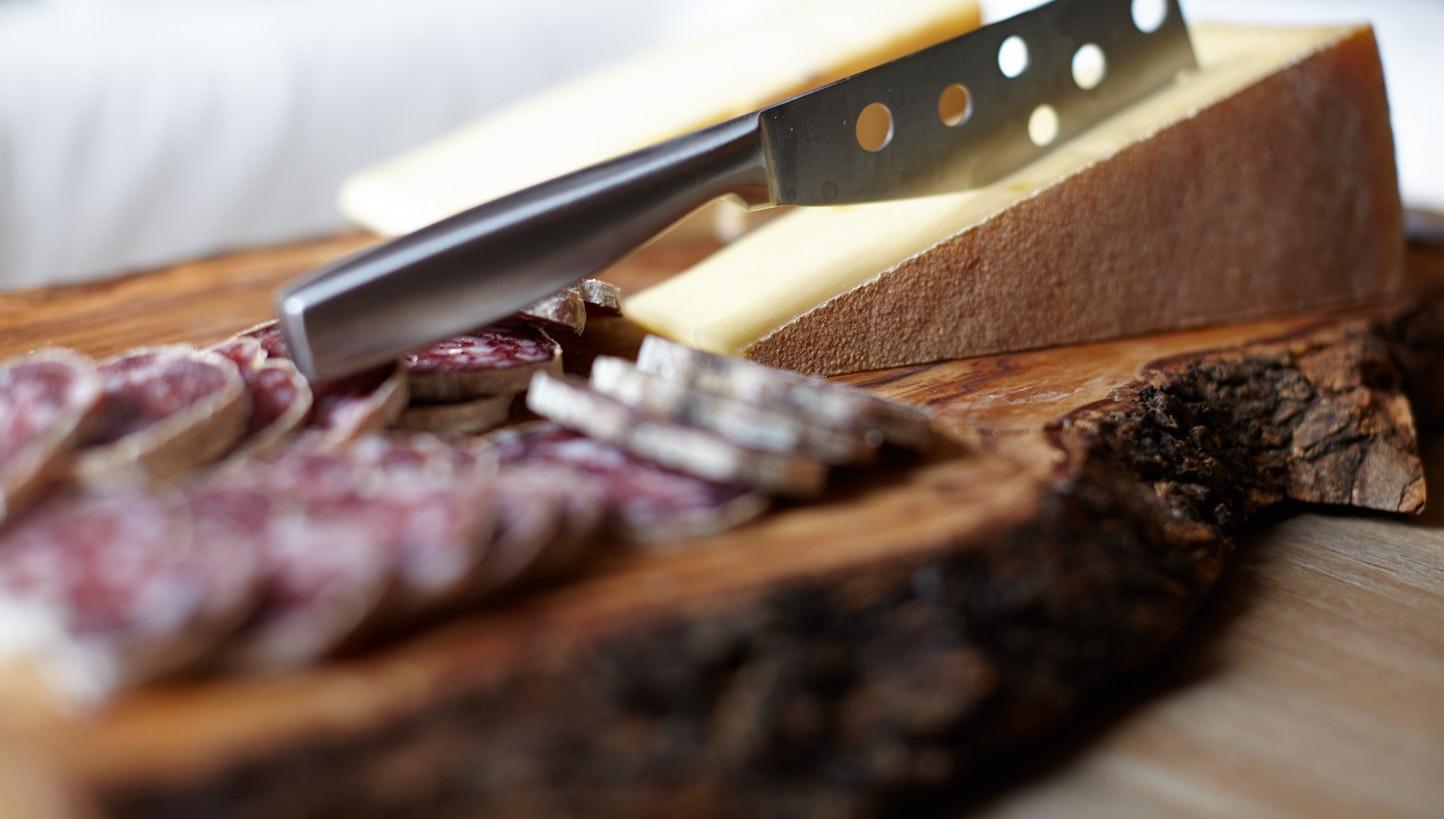
Maybe your kitchen knife is chipped, maybe it just doesn’t hold an edge anymore. For whatever reason, none of the easier options from my Maintaining the Edge article are effective anymore. That means it is time to sharpen to take out any chips and to reveal a new, clean, crisp edge. Before you do that, you have to decide if you want hire a sharpening service or buy the tools to do it yourself. I’ll tell you right now, that not all “professional” sharpeners are created the same. Even if you choose to send your knife out, you should know what you’re paying for. In this article, I’ll help you choose the right knife sharpener for your needs.

JIG ASSISTED KNIFE SHARPENING SYSTEMS
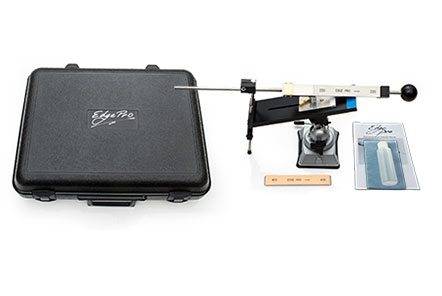
[easyazon_link identifier=”B00BFFY8JI” locale=”US” tag=”knifepla-20″]> Buy The EdgePro on Amazon <[/easyazon_link]
At first glance, this seems like training wheels for freehand sharpening. It provides a fixed angle for your sharpening. When you really get into using them, you’ll find those training wheels are actually handcuffs. They won’t go to a low enough angle needed for thinning double bevel knives or for the back side of a single bevel knife. Thinning is absolutely essential. If you don’t thin your knife regularly, then over time as the edge moves up to the thicker spine of the knife, you’ll get a fat knife that wedges in food.
Our video on Guided Sharpening Systems
[easyazon_link identifier=”B000O8OTKA” locale=”US” tag=”knifepla-20″]> Buy The Smith’s Sharpener on Amazon <[/easyazon_link]
The sharpening process is not so different than on freehand waterstones. You still need to check your angles, check that you’re raising a burr and deburring. If you use the jig and still want to sharpen the right way, there are a lot of little angle corrections and each requires an adjustment of the jig. The main selling point of a fixed angle jig is also its pitfall: the angle is fixed. You need to change angles as you sharpen. The edge angle at the tip can be different than the angle at the heel. Since checking angles and adjusting takes time, the temptation with a jig is to just force a certain edge angle along the entire edge of the knife and grind away until it gets there. That will lose the intended angles by the maker if you care about that, but also waste away more steel than necessary.
Many jigs are designed for smaller knives. You can tell by the size of the stones that they are really meant for pocket and hunting type knives. An average freehand waterstone is 8×3”, so on each pass, I have more area covered.

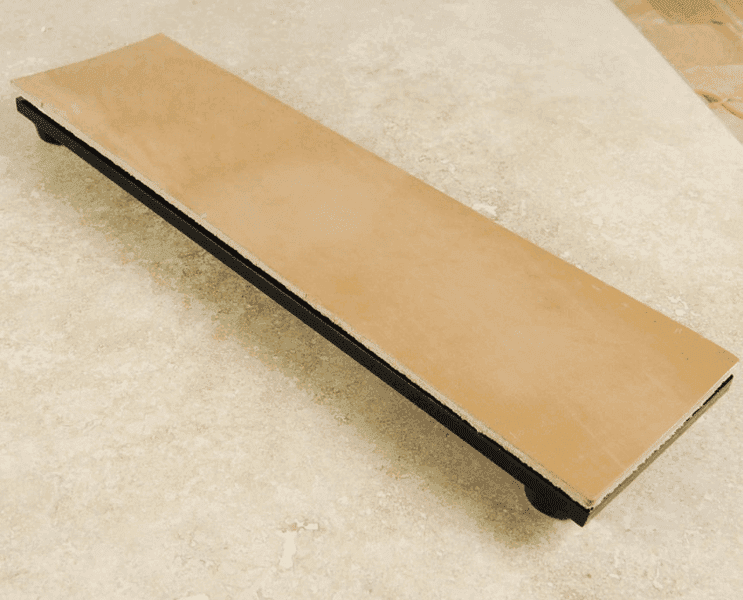
FREEHAND SHARPENING ON WHETSTONES
[easyazon_link identifier=”B001DT1X9O” locale=”US” tag=”knifepla-20″]> Buy Sharpening Stones on Amazon <[/easyazon_link]
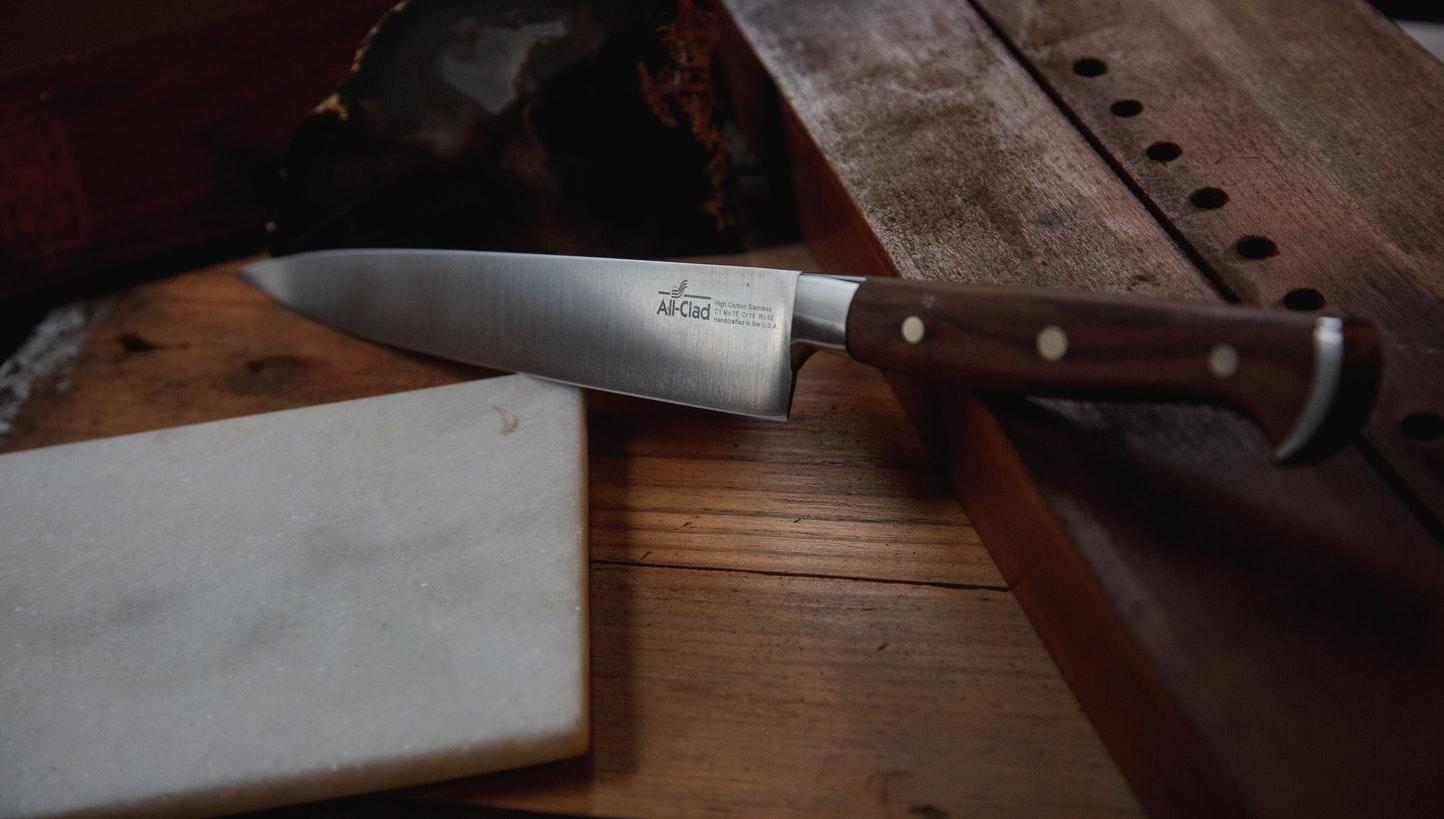
This is the ultimate form of sharpening. Instead of restrictions imposed by the equipment, you’re only limited by your own skill. That intimidates many people, but at the end of the day, you’re just rubbing metal on some very flat rocks. Humans have been doing this for thousands of years.
Yes, there is some learning curve. However, I don’t think it’s so steep, and the benefits are worth it:
- You can change the angles on the fly. On a sharpening jig, you have to stop and adjust the angles. Pull through sharpeners are totally fixed angle.
- You can sharpen ANY knife. Asymmetric edges? No problem. Knife thinning? No problem. Double bevels? Single Bevels? Freehand can handle it all.
- This is the ONLY way you can sharpen single bevel knives properly. The back side of a single bevel knife simply cannot be sharpened on a jig, a pull through or any other option.
- You can put on exactly the edge you want. You can decide based on the type of knife, the steel, and what tasks you’re performing. Knives are all unique, and their edges shouldn’t all have the same angles. The edge you put on a meat cleaver should be different that one you put on your chef’s knife.
- It removes much less metal than any of the other options. You just need to take off enough to raise a burr on each side and then remove the burr.
- Any damage you might do can be fixed. It’s all part of the learning process.
Our video on Sharpening Stones
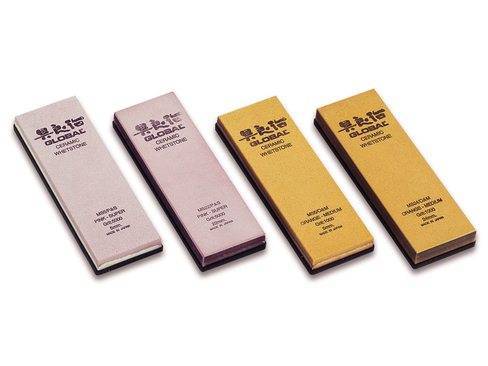
There are many types of whetstones out there. You could get a silicon carbide stone in Chinatown for less than $10. These are really aggressive coarse stones for japanese knives, but they actually work great on cheap stainless steel knives that are hard to sharpen on waterstones. There are Arkansas stones, cut from natural stone formations, graded from soft to hard. They are natural stones so it is hard to get an exact grit rating. The harder the rating, the finer and smoother it is. These work great on softer steels.
For the harder Japanese steels, Japanese waterstones are recommended. These are also whetstones, but as the name suggests you would never use them with oil or dry, you need to use them with water. For beginners, the most cost effective are synthetic waterstones. Synthetic stones are very consistent so you know exactly what to expect from stone to stone by the same maker. I have an entire article dedicated to shopping for synthetic waterstones.
On the more expensive side are natural japanese water stones. These are very task specific, you might have a muddy stone just for putting on a kasumi finish, or a different one just for pre mirror polishing, or one for mirror polishing. Average users will find synthetic stones more than adequate.

MANUAL AND ELECTRIC PULL THROUGH SHARPENERS
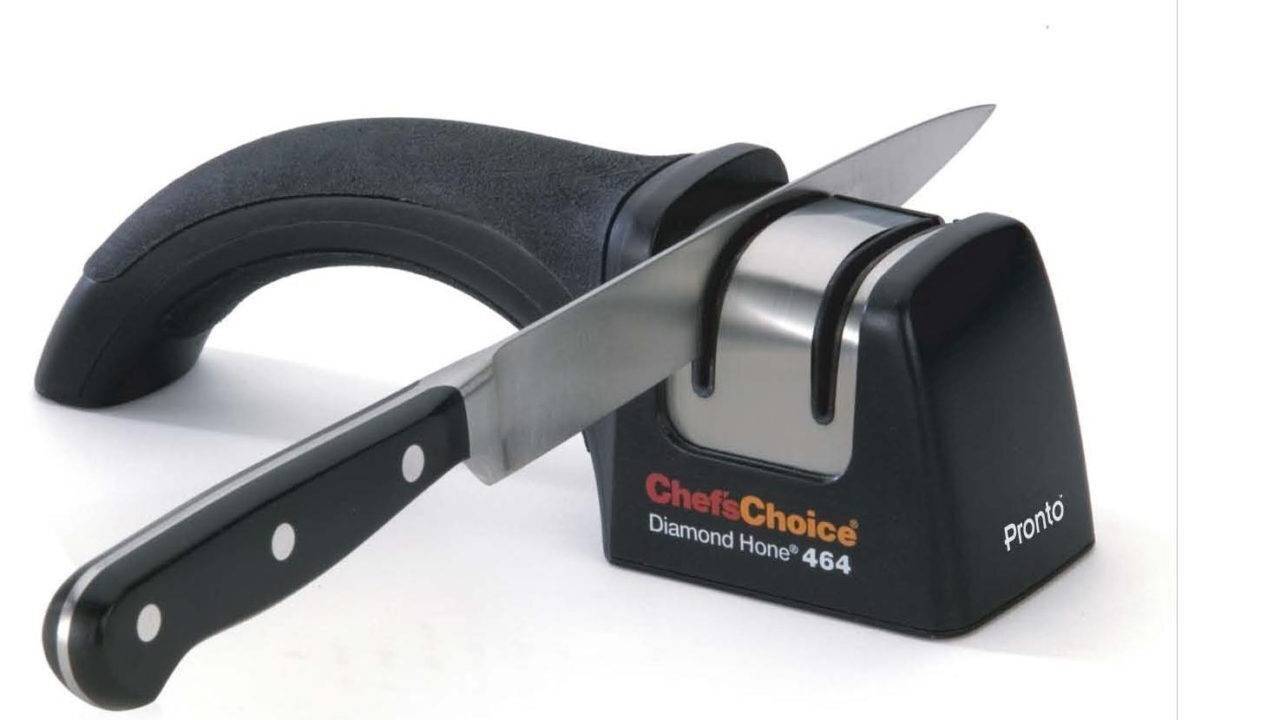
[easyazon_link identifier=”B0018RSEMU” locale=”US” tag=”knifepla-20″]> Buy The Chef’s Choice on Amazon <[/easyazon_link]
Manual pull throughs are some of the cheapest options you’ll find in your search. No training is required, just pull the knife through. If something sounds too good to be true, it is. This is what I call the quick and dirty method. It’s cheap, but leaves you feeling, well, dirty. These come in a few flavors. The simple, manual, pull through devices just have two stones, usually silicon carbide or diamond coated, meeting to form a V shape at some fixed, wide angle, probably 20-22 degrees. As you pull your knife through and apply pressure, your knife edge is cut to this V shape.
Our video on Pull Through Sharpeners
So, what’s wrong with them? One problem is that they remove more metal than is necessary. It’s really ripping out chunks of steel, and I’ve seen these rip out big enough chunks that I would call it a ‘chip’ in the edge. You would remove much less metal by freehand sharpening. The other big problem is that the angle is not adjustable. It’s usually 20+ degrees. Even Wusthof has lowered their factory sharpening angle now, I heard something like 18 degrees per side. On Japanese knives, the angle is lower than that and also asymmetric, so each side needs a different angle. In addition to the edge angles, sometimes, you need to go to very low angles to thin the side of the knife. These simply cannot do that.
If manual pull through sharpeners aren’t wrecking your knives fast enough, they have electric ones too. These can grind away your knife in a few dozen passes, just keep them away from mine, please. I wouldn’t use a pull through sharpener on anything but stainless steel knives costing $15 or less. I wouldn’t even use it on my $8 chinese carbon steel cleaver.
Save your money and your knives from pull through sharpeners.

BELT SANDER
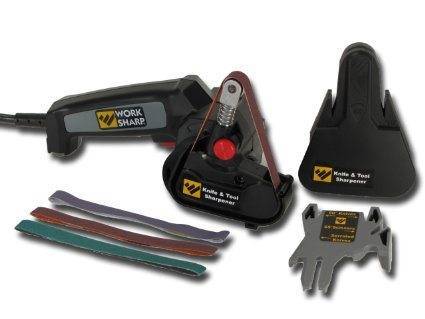
[easyazon_link identifier=”B003IT5F14″ locale=”US” tag=”knifepla-20″]> Buy The Work Sharp on Amazon <[/easyazon_link]
This one is up for debate. Basically, it’s a sandpaper belt driven by motors. You can have different speeds and different belts with various sandpaper grit. It removes steel fast, you can fix chips fast and put an edge on fast.
The problem is that the friction from the fast moving sandpaper causes the knife to heat up very quickly too. The edge is the thinnest part with the least mass, so it will heat up the fastest. If your knife steel exceeds a certain temperature (varies depending on heat treatment, around 400F), you will wreck the heat treatment/tempering of the steel. The steel will get softer, the edge will crumble or chip, and generally not hold an edge. Basically your knife will be unpleasant to use until you get someone to do the heat treatment and tempering again. That’s an expensive mistake.
People who are aware of this fact will go slow on belt sanders and also quench the knife in water every few seconds to keep the temperature down. I haven’t seen this from any of the “professional sharpeners” in my area, so they won’t get my business or referrals.
Belt sanders are fast and effective for thinning or repairs, but I trust few people who use them. The finishing sharpening needs to be done on sharpening stones anyway, the belt sander could only take the place of coarse stones.

WET GRINDER
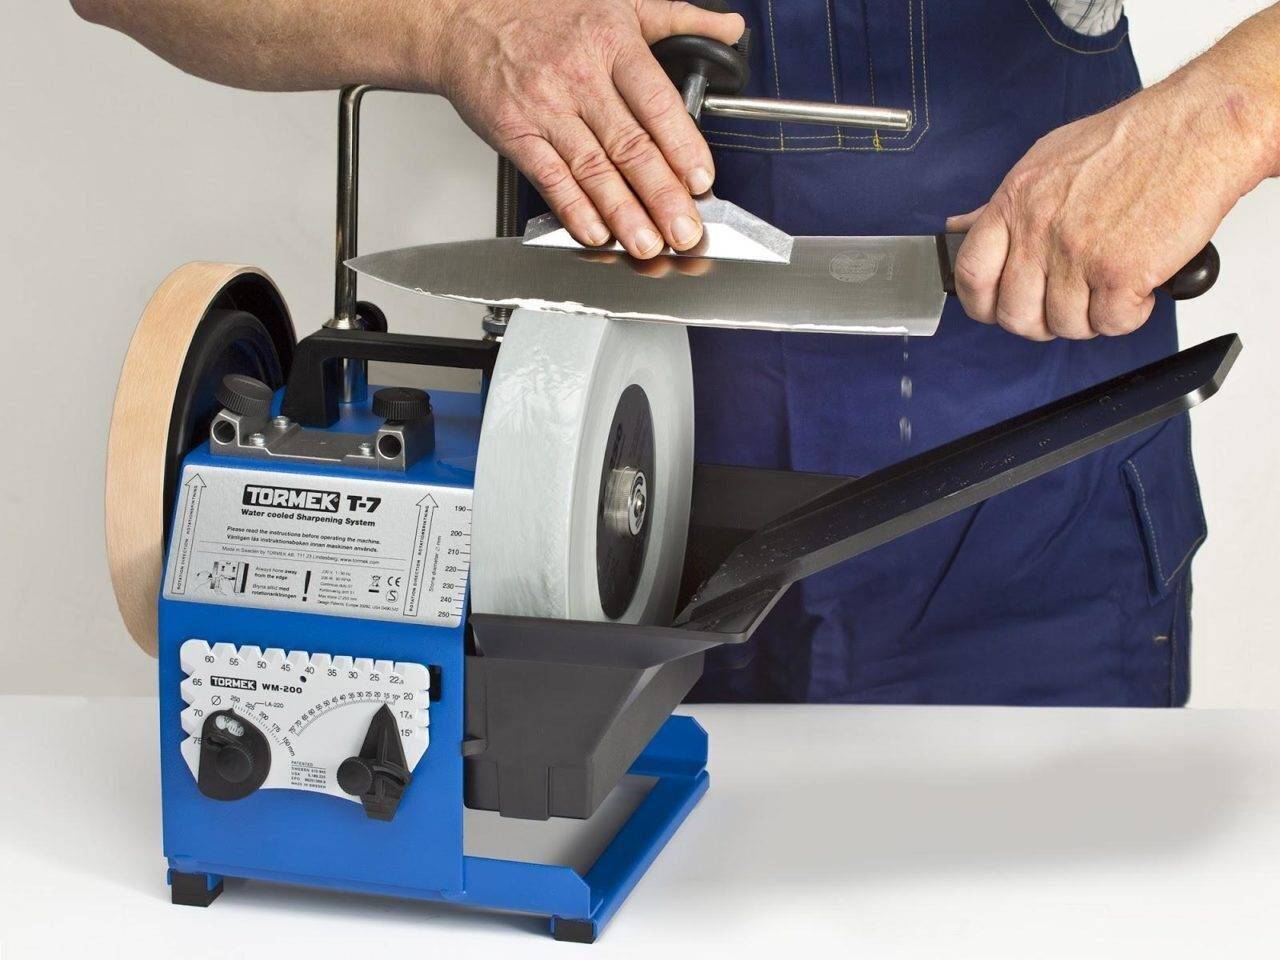
[easyazon_link identifier=”B00N0VJ90S” locale=”US” tag=”knifepla-20″]> Buy The Tormek on Amazon <[/easyazon_link]
Also called a Wet Sharpener or Water wheel depending on what company you’re looking at. I know about these from a woodworker friend who uses them on chisels. The stone goes through water at the bottom to it keep the temperature down, unlike on the belt sander. Basically it is a round waterstone that spins around. The small reasonably priced ones (for very specific power tools anyway) that I know of are Tormek, Jet, or Grizzly. The good ones have some type of knife clamp attachment, angle guide, variable speeds, and different grit level options for the wheels.

PROFESSIONAL KNIFE SHARPENING SERVICES
Here we are with the easiest way to sharpen your knives: sending them out to a professional knife sharpening service. Even though it seems easy, not all the knife sharpeners are equal and you have to find the right service for your needs, in terms of price and quality.
We’ve started a new series of interviews to professionals, you can find them here:
Reading the interviews will help you understand how professionals operate and sharpen your knives.

THE STROPPING PROCESS
Once you have finished honing your knife, the job is still not done. For a really keen edge, you need to strop it, to give it that finished feel. Stropping polishes the cutting edge to a very fine level, and makes a huge difference in the way the blade cuts.
The most common method of stropping is to run the blade, spine first, up a leather strop, flip it over, and run it down the strop for the other side of the blade, holding it at the same angle you honed it at. Strops are made from many different types of leather, but the best are made from bullhide, or horse hide. If you don’t have a strop, a leather belt works just fine. Just give the blade a few swipes and your good to go.

11 EXTRA SHARPENING TIPS
- Use a magnifying glass to examine the edge of your blade. You can see nicks and gouges, and know where the edge needs the most attention
- Get used to what the angles look like. Take a square piece of paper, like a Post-It Note, and fold it in half from corner to corner. You’ll have one 90º and two 45º Now, fold one of the 45º angles in half. Now you have a 22.5º angle. This is about right for most knives. Use this as a guide.
- Super Steels sound good…until you have to sharpen them. There is no need to be over-gunned in the kitchen. Make it easy on yourself and stick to steels that will be easy to sharpen, like 440, AUS 8, etc…
- Take Your Time. Do a good job.
- Don’t try to sharpen your knives when you are tired, on medication, inebriated, or distracted. That’s an accident waiting to happen.
- Always move the blade away from you when sharpening…never towards you.
- When you sharpen your knives, be sure to also check the scales (handles) for cracks, loose screws or rivets, etc….A worn or loose handle can cause you to cut yourself.
- Always wear safety goggles and gloves when using a bench grinder.
- Never let children, pets, or other interested parties get close to you while you are sharpening your knives. They could get cut.
- When sharpening knives, check the blades for stains and blemishes, especially after cutting acidic things like citrus fruits, apples, etc… Mild surface blemishes can be removed with 000 steel wool. For bad stains and rust, use the method I will describe in the next section.
- Here is a secret that will astound you. The top of my car window glass is actually a good knife sharpener. That’s right. Nothing will sharpen your blade like the edge of glass. Simply roll your car or truck window down about halfway, and using the correct angle, give the blade a few swipe on each side up and down the edge of the window glass. Your knife will get shaving sharp, if your blade is capable of achieving that level of sharpness. Any piece of glass with even edges will work, like old window panes, etc…You can use the edge of any piece of glass long enough to stroke the blade on, but watch for sharp edges on broken glass panes. Try to get a piece with even edges, and no sharp points.

STEEL PAIN: HOW TO REMOVE STAINS
It happens to all of us sometimes. You loose track of what you are doing, lay a knife down, forget to clean it, leave it out in the rain, run it through the washing machine, leave it in a sink full of water, etc…. By the way, Stainless Steel is not really ‘stainless’. It rusts, too. It just takes a little more abuse. Rust and stains aren’t the end of the world. They can be fixed.
Mild rust and blemished can be removed with 000 steel wool and a lot of elbow grease. Worse stains may be handled by moving up to 00 steel wool. Never go higher than this, as it will make tiny scratches in your blade that will ruin the finish. For bad stains, you can use a product called Naval Jelly. There are two brands that I am aware of, the original made by Loctite, and another made by Duro. I have used both and never found much of a difference between them. Use the one you can get the best deal on. To use Naval Jelly, just brush it on the rust spots, being careful not to get it on your hands, or the knife handle (it is corrosive), and let it set for 20-30 minutes. Rinse it off with water, and dry the blade completely. This will usually remove all but the very worse rust.
Another method for rust is to use a paste made from baking soda and water. Pour 1/2 cup or so of baking soda into a non-reactive container. Add just enough water to make a semi-thin paste. Using a toothbrush, 000 steel wool, or even a dish scrubbie (Greenie, or Scotchbrite pad), add liberal amounts of the paste to the blade and scrub, scrub, scrub….until the rust is gone. Rinse the knife off well, dry and oil the blade. You can also do this the same way with Barkeepers Friend instead of baking soda.
You can also use vinegar. Get a non-reactive container tall enough to immerse just the blade of the knife in. Stand your knife up in the container, point-down, (tall glass jars work great for this), and fill the jar with white vinegar up to the top of the blade. Allow it to set for a few days. Then remove the knife and rinse it, and the container with clean water. Next, add a few tablespoons of baking soda to the container (this is to neutralize any remaining acid from the vinegar), put your knife back in, and fill with water. Allow it to set for 30 minutes, than rinse everything of. Polish and oil your knife blade, and it should be good as new.
The above methods should also work for removing stains and blemishes as well, but if for some reason they don’t, the direct method works every time. Get some 320 grit sandpaper and sand the sides of the blade where the rust spots are (just do the whole blade…trust me, it’s eas-ier in the long run…). Next, use a piece of 400 grit sandpaper and do the blade again. Now get a 600 grit piece and repeat. Move up to an 800 grit, then a 1000 grit, finally finishing with 00 and 000 steel wool. The blade will look like new. Polish and oil it.

CONCLUSION: IT’S YOUR TURN
Ever since humans moved out of the Stone Age, a way to keep metal blades sharp was needed. Stone knives could simply be re-knapped for a new edge, until they got too small. The, you just discarded it and made a new one. Metal was a different situation. First, it was expensive, and had to be cast, or forged by skilled craftmen. Back then, a person’s life often depended on the sharpness of their blades. Bronze, and iron blades could be easily sharpened on any flat rock. But steel was too hard for that. Military people, and others who used swords learned how to sharpen their own blades in the field. Any time they came to a town, they would usually find a metalsmith and have him do a professional job on their blades. The Romans employed skilled professional bladesmiths to travel with their legions. After the fall of Rome, in the Dark Ages, professional bladesmiths would travel the streets with handcarts. People would leave their blades out for him to collect, and he would bring them back when they were done. There are still modern professionals who will restore your blade to factory condition, if it is possible. But nowadays, most people prefer to sharpen their own blades. Using whetstones and bench grinders has a learning curve to it, so some companies came up with device to make the job easier and more intuitive.
While using whetstones is the best way to keep a good sharp edge to your knife, there are many who do not want to bother with the earning curve, or the time it takes to do a good job. Modern times are the era of Instant Gratification, and to that end, there are several alternatives that are adequate, at least to a certain degree. For occasional repairs and thinning, you can get by on coarse whetstones and diamond plates. Power tool options are really for knife makers or people sharpening a lot of knives for others. If you need to do a lot of repair work or thinning, this is a better option than the belt sander.